This article covers setting up a Backstage email account in Gmail, the default email client for Android.
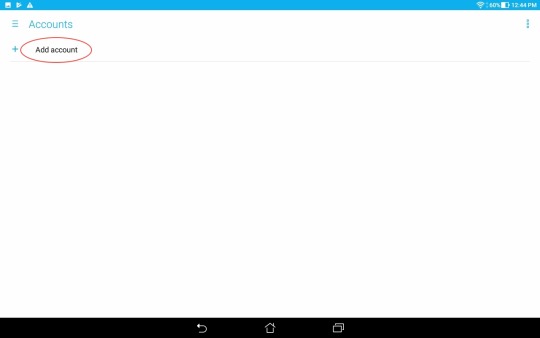
Start by navigating to Settings > Accounts on your Android device and selecting Add account and then Exchange.
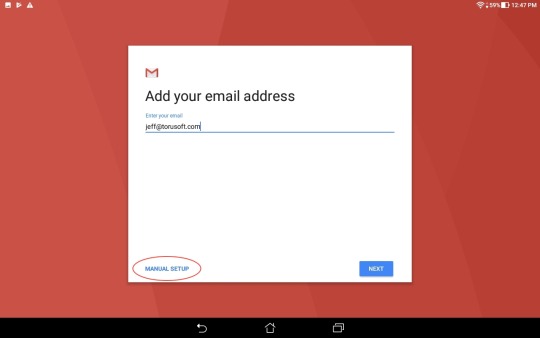
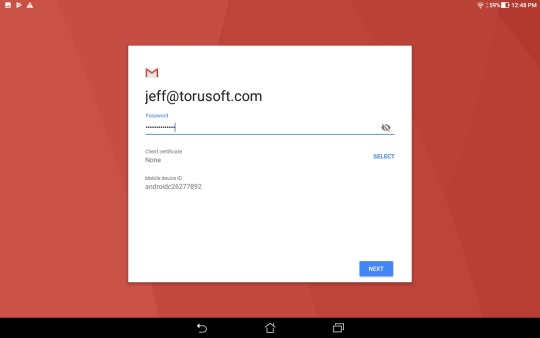
Enter your Backstage email address and select Manual setup.
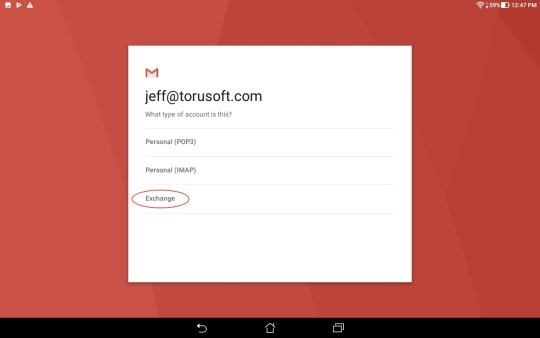
Select Exchange.
Enter your password and tap on Next to continue.
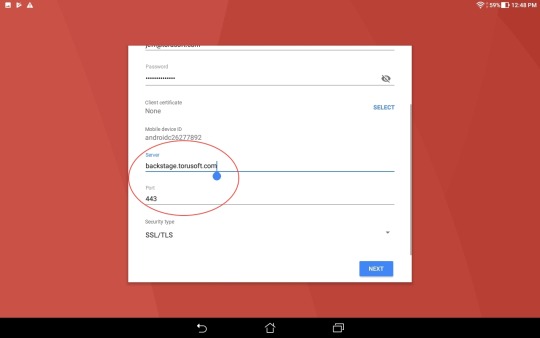
On the Incoming server settings page, enter your Backstage server address in the Server field, and ensure Port is set to 443. Tap Next.
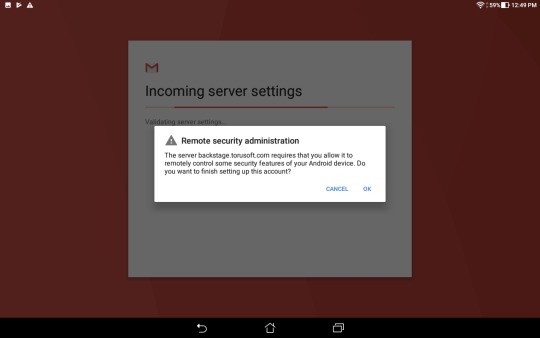
You should see a Remote security administration prompt informing you that setting up the account will grant the Backstage server some administrative rights on your device. Tap OK to proceed.
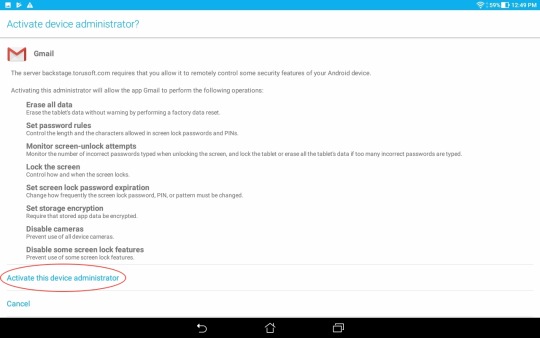
The next screen provides some detail on the administrative rights being granted to the Backstage server. Most notably, the permission to Erase all data allows you to remotely erase all files stored on your device in the event it is lost or stolen. Select Activate this device administrator to accept and proceed.
That’s it! You’re ready to start using your Backstage email account on your Android device.
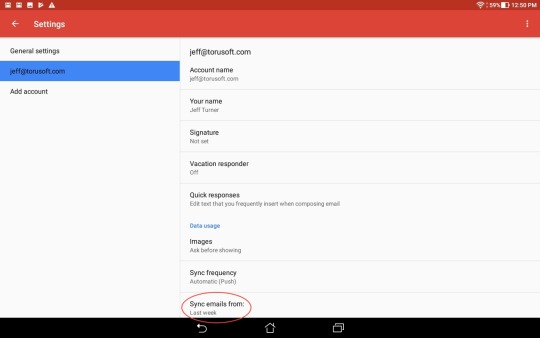
However, there is one setting you may wish to change… Tap on Account Settings for your newly configured account and find the Sync emails from setting. By default, it is set to Last week. This means that only emails from the last week will show up on your mobile device. Many users will want to sync more emails than that, so we encourage you to set this to your own preference. Selecting All will have all of your emails from any point in time show up (if your account already contains a lot of emails, it will take some time to download everything).