You can download eM Client for free from: https://www.emclient.com/download
Upon Launching eM Client for the first time you will be prompted to add your email account.
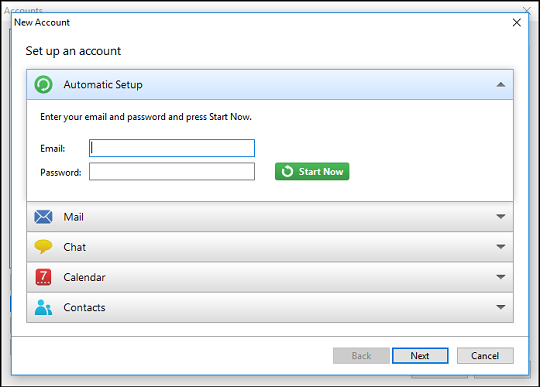
Simply enter your Backstage credentials and domain under “Automatic Setup”
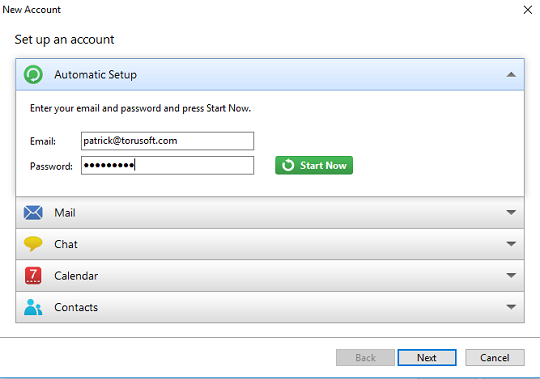
Then click “Next”

In this pane you can enter your name, and the name you would like to use to identify your Backstage account – eM Client can handle multiple accounts.
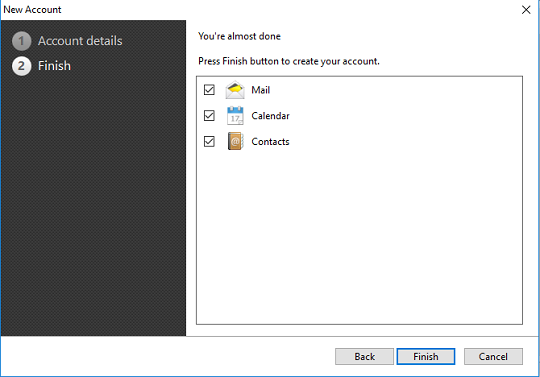
Select which services you would like to connect to with eM Client, then click “Finish” and in a few moments your Backstage account information will be downloaded. You can begin sending and receiving email while your account synchronizes. You are now configured for Backstage with eM Client v5.