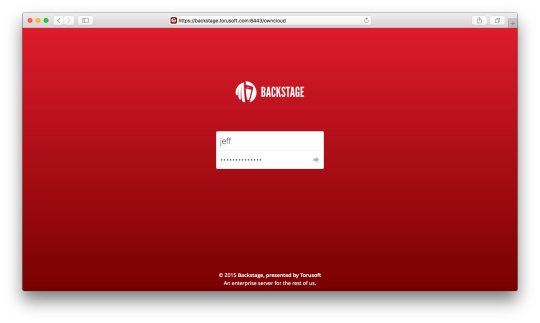
Sharing individual files and folders is simple from the Backstage Files webapp. Navigate to https://backstage.<yourcompanydomain.com>:8443/owncloud to get started.
Once you’re logged in, find the file or folder you wish to share. Hover over it, and click on the icon resembling three connected dots to open the Sharing menu.

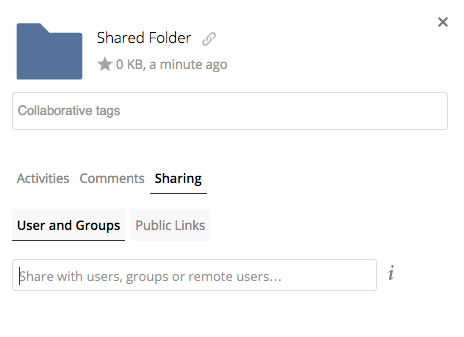
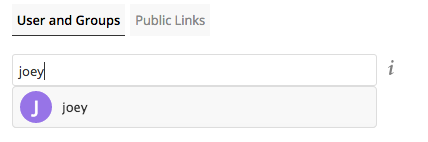
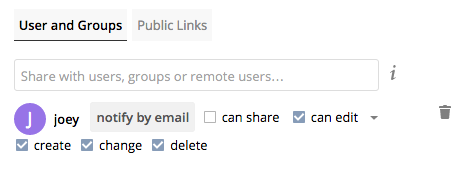
To share with another user on the same Backstage server, click on the text field in the Users and Groups tab, and begin entering their name. The field should auto-complete. Click on their name when it appears.
Now you can set the permissions this user has for your file/folder.
Can share – allows the user to share the file/folder to other users.
Can edit – allows the user to edit the file/folder and its contents.
Create – allows the user to create new files or folders inside of the folder.
Change – allows the user to make changes to existing files.
Delete – allows the user to delete files.
Tip: the delete feature is useful because it means a user can’t get rid of the file, and any changes they make to it will be visible in the file’s Activities tab. Changes can be reverted by choosing an older version of the file in the file’s Versions tab.
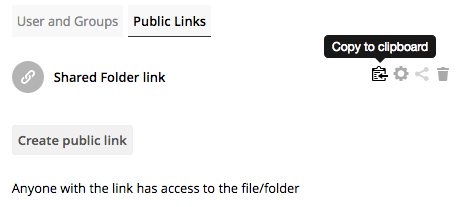
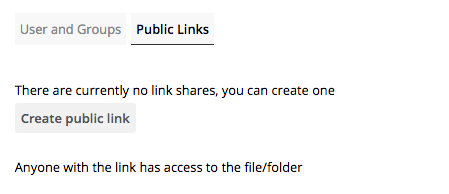
To share with a user who isn’t using Backstage, go to the Public Links tab and click on Create public link.
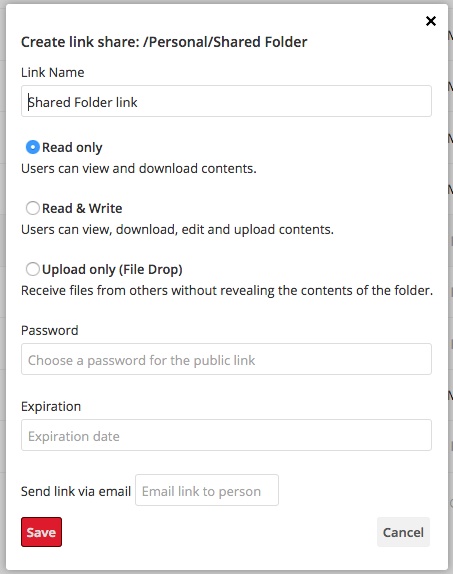
This window will allow you to set permissions for users who access the file/folder using the link, set a password required to access the file/folder, set a date for the link to expire on, and send the link directly in an email. Click Save when you’ve configured the link to fit your needs.
Now you can see the link you’ve created. Click on the clipboard icon to copy it to your clipboard for pasting.