
Backstage Files is a cloud storage and file sharing service provided by Torusoft. It is similar to Dropbox or Google Drive in it’s abilities to allow you to store important files online and share them with your co-workers. Unlike these solutions, the server and its data are private and only accessible to you and your company. No one is going to extract information or ad revenue from your data.
Backstage Files can be decided into two parts. The first is the web application that you can access from your browser. This allows you to upload and download files and setup sharing of your files to other people in your organization. The second part is the ownCloud sync client, which we will be setting up in this tutorial. The sync client simply takes any folder that is accessible to the user in the webapp (whether it is one of their personal folders or shared by some else) and syncs it with a folder on the user’s computer. Here we will install the ownCloud client on a Windows PC.
To start, download the latest ownCloud client from their website:
https://owncloud.com/download/
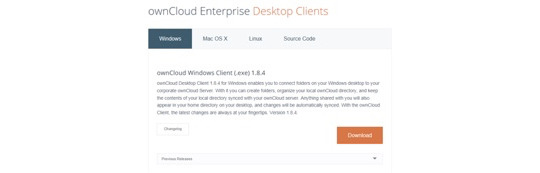
Scroll to the bottom of the page to see Desktop Client, select Windows, and click download.
Once downloaded, go to the Downloads folder on your Windows PC and double click on the file you downloaded (it will look like ownCloud-1.x.x-setup.exe) to start the installer package.
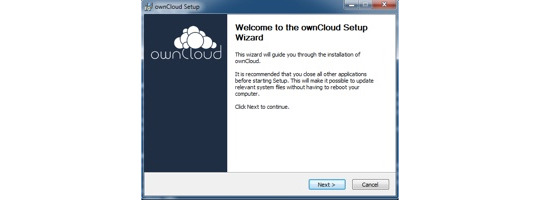
Click Next to get started.
The first step will be the components selected to install. Leave the defaults in place and click Next.
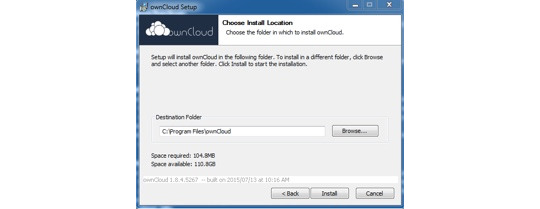
The next step will ask you if you want to change the default install location. Make no changes here and click Install. Once it completes, click Next again.
If everything goes well, you will see this:
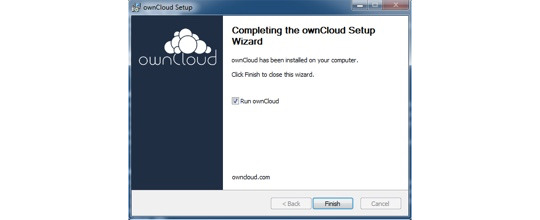
Now that the software is installed, click Finish. We will now setup the software which will run right away if you leave “Run ownCloud” checked.
This will start with the ownCloud setup wizard.
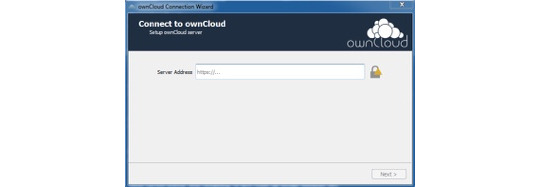
First, enter in your server address. For most Backstage customers, this will look like this:
https://backstage.yourcompany.com:8443/owncloud
Note that it must be HTTPS as all Backstage servers use SSL for encrypted connections.
Once you have entered your server name, click Next. If you get any errors at this point, make sure you typed in the address exactly as it was given to you. If it asks you if you want to connect insecurely over http, click no (as this will not work anyway).
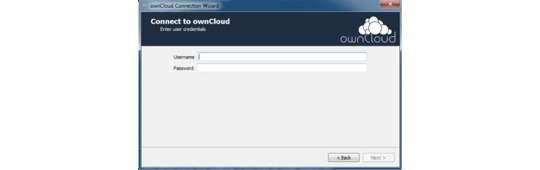
It will then ask you for your username and password. Enter in what was provided to you by Torusoft. Do not include your full email address. Most usernames are the first part of your email address before the @ symbol.
Click Next.

You will then be presented with a quick setup screen.
DO NOT CLICK “Connect”.
We recommend that you “Skip folders configuration” in this step and setup folders later in the application itself. This will ensure that you don’t instantly start downloading everything that is shared to you which will take up a lot of bandwidth and potentially space on your computer.
Click “Skip folder configuration”.
After this is completed, the ownCloud Client will start. It will look like this:
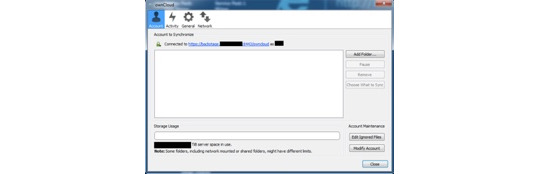
Click on the “General” tab.
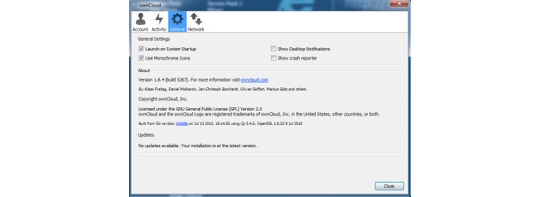
Make sure “Launch on System Startup” is checked. We recommend also selecting “Use Monochrome Icons” because it looks nicer in your Windows task bar. Uncheck “Show Desktop Notifications” and “Show Crash Reporter” so the ownCloud client doesn’t show pop-ups while it syncs.
You can then close the ownCloud Client. The client will continue to run in the background and start when your computer does. You can access the client at any time by clicking on it’s icon in the task bar and clicking “Settings”

That’s all for installation. To learn how to setup individual folders in the ownCloud Client to sync to your computer, check out our article Setting up Owncloud Sync Folders