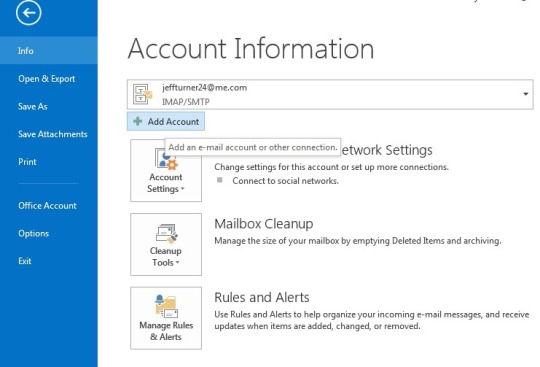
In Outlook, click on Add Account under the File tab of the menu bar.
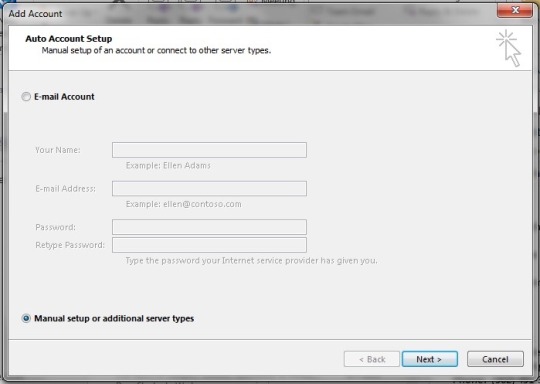
The above window will appear. Select Manual setup or additional server types and click Next to proceed.
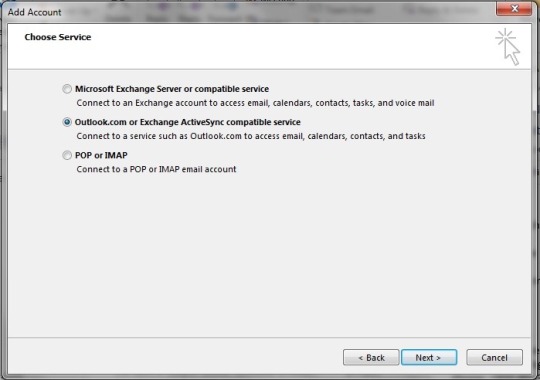
At the next screen, select Outlook.com or Exchange ActiveSync compatible server and continue.
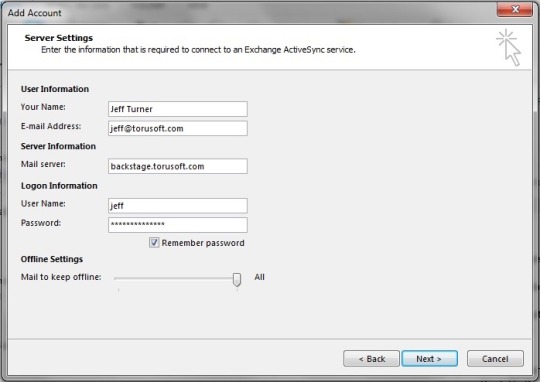
User Information: enter your full name and Backstage email address into the corresponding fields.
Server Information: enter your Backstage server address in the Mail Server field. The server address is usually “backstage.yourcompany.com”. Alternatively, just match the company name to the domain used for your email address.
Logon Information: enter everything before the “@” in your email address into the User Name field, and your password into the password field. Please note that if your email address domain is different from the server domain, you’ll need to enter your entire email address in the User Name field.
Offline Settings: this sets the time period for which Outlook will retain a copy of an email locally (emails will never leave the server, no matter how old). We recommend setting this to “All” on a desktop computer.
When you have entered and verified all of the required info, click on Next to add the account.
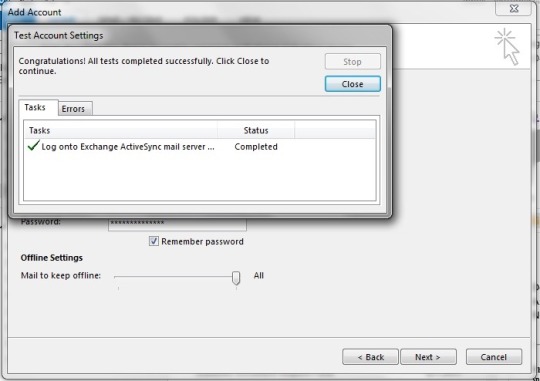
A new window will appear. Once you get confirmation that tests have completed successfully, you may click on Close, and then Finish on the following screen.