Delegation allows for other users to have more control over your content. With delegation enabled, another user can view and edit your calendar as if they were you. It also allows an option for that user to view and modify your email inbox. These settings are great for collaboration between employees.
To enable delegation, first go to the Kerio Connect webapp for your company. It should have an address like this.
backstage.<yourdomainname>.com
(yourdomainname will be the same as in your email address)
Login with your username (the part before @ in your email address) and password.
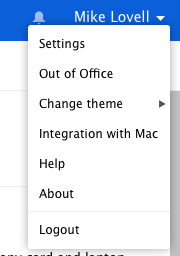
Once logged in, click on your name in the top right corner of the page.

Then click “Settings”
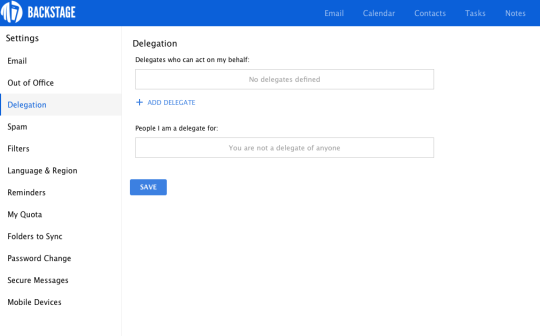
On the left side menu, you will see “Delegation”. Click on it to bring up delegation settings.
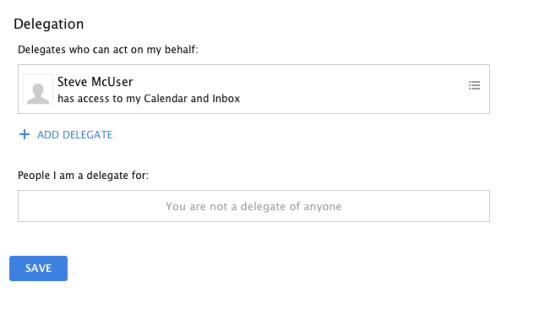
To add a delegate, click “Add Delegate” and enter the name of the user you wish to add.
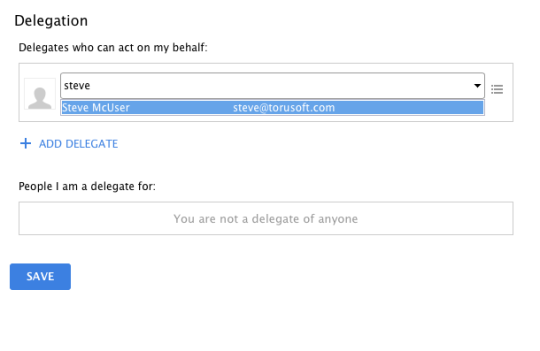
Then click “Save”.
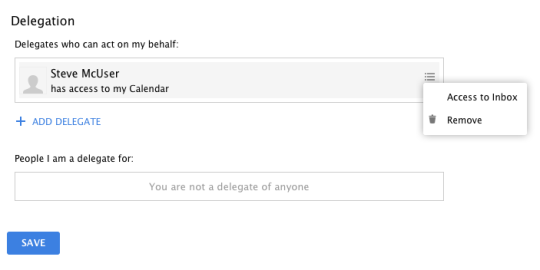
(Optional) You can also give this user access to your email inbox from here. Click on the menu button to the left of their name.
Click “Save”.
It should look like this once you are done.
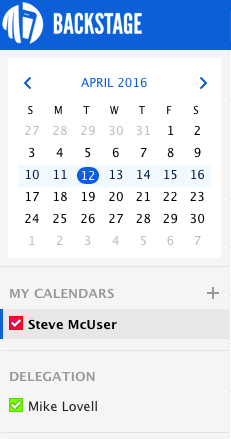
When the other user logs into their account, they will see a delegation section in their calendar.
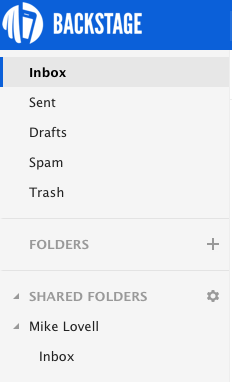
And (if you gave them permissions to your inbox) they will see this in email below “Shared Folders”.
If you have any issues setting this up or getting the calendar or inbox to show on your favourite email/calendar client, please let us know at support@torusoft.com