Outlook is our recommended app for email on Android. Backstage fully supports Microsoft Exchange so it is the best way to get push email to your Android device.
To start, download the latest version of Microsoft Outlook for Android on the Google Play Store.
Once installed, click on the app icon to open Outlook. If this is your first time opening Outlook, you will be greeted with this screen to start.
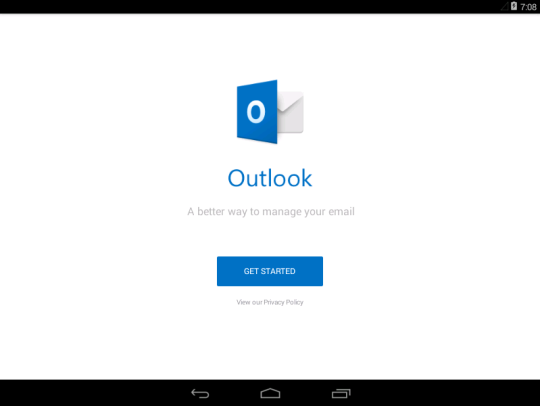
Click on “Get Started”
(If you have installed Outlook for your Android device before and have accounts setup, please Open Outlook and click on the gear icon in the top right corner to get into Settings. Then click on “Add Account”)
Now you will get the first screen to enter your email address.
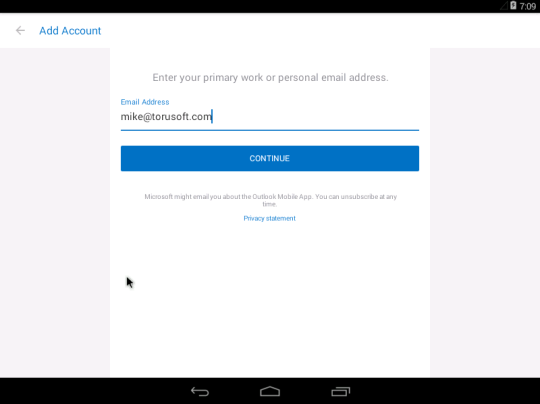
Enter in your address which should be like <yourusername>@<companydomain.com>. Do not use torusoft.com as your domain, this is only for this example.
Click Continue.
Next you will see options to choose the type of account.
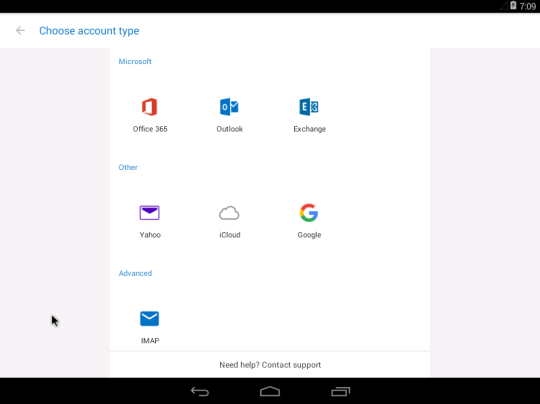
Click on “Exchange”.
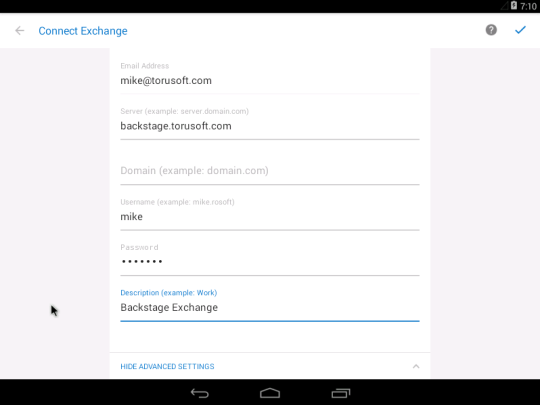
Once here, click on “Advanced Settings” on the bottom so your screen looks like this one. Make sure your full email address, your server which should be backstage.<yourdomain.com> (do not put in backstage.torusoft.com as this is only for the example), your username (the part of your email address before @), password, and put in a Description of the account (I would suggest Backstage Exchange or something that signifies is it your work email account).
Click on the blue checkmark in the top left corner to continue.
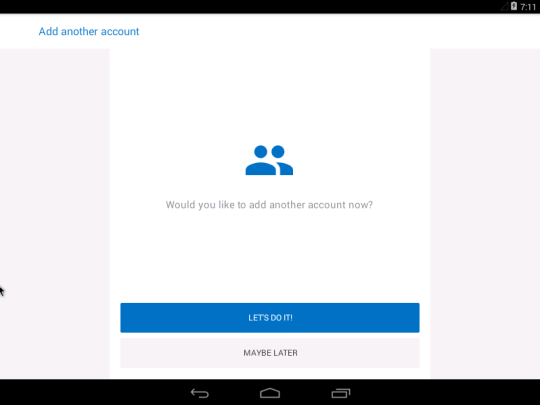
If everything worked, you should see this screen. Click “Maybe Later”
You will see a screen with some information about Outlook for Android. Click skip and then the checkmark to continue to your inbox and start receiving and sending email.
Contact us at support@torusoft.com if you have any issues. Enjoy using Outlook for Android with Exchange via Backstage!